PowerPoint has been used as a presentation tool in business meetings for a very long time. It’s a powerful tool that seldom gets used effectively. I have used PowerPoint to create hundreds of presentations that I hope engage the audience both visually and emotionally.
Unfortunately, a PowerPoint presentation is all too often dull. Transitions and animations can help provide a more interesting visual component to any presentation. I recently discovered a new transition in the Microsoft 365 version of PowerPoint that makes creating object transitions easier than ever.
Enter the Morph Transition
The morph transition is a more manageable and automated way to move objects, so they appear to be floating across your screen. Other transition types have been around a long time to do similar things with objects. The morph transition automates the process, so you don’t have to be a PowerPoint expert to create more engaging visuals.
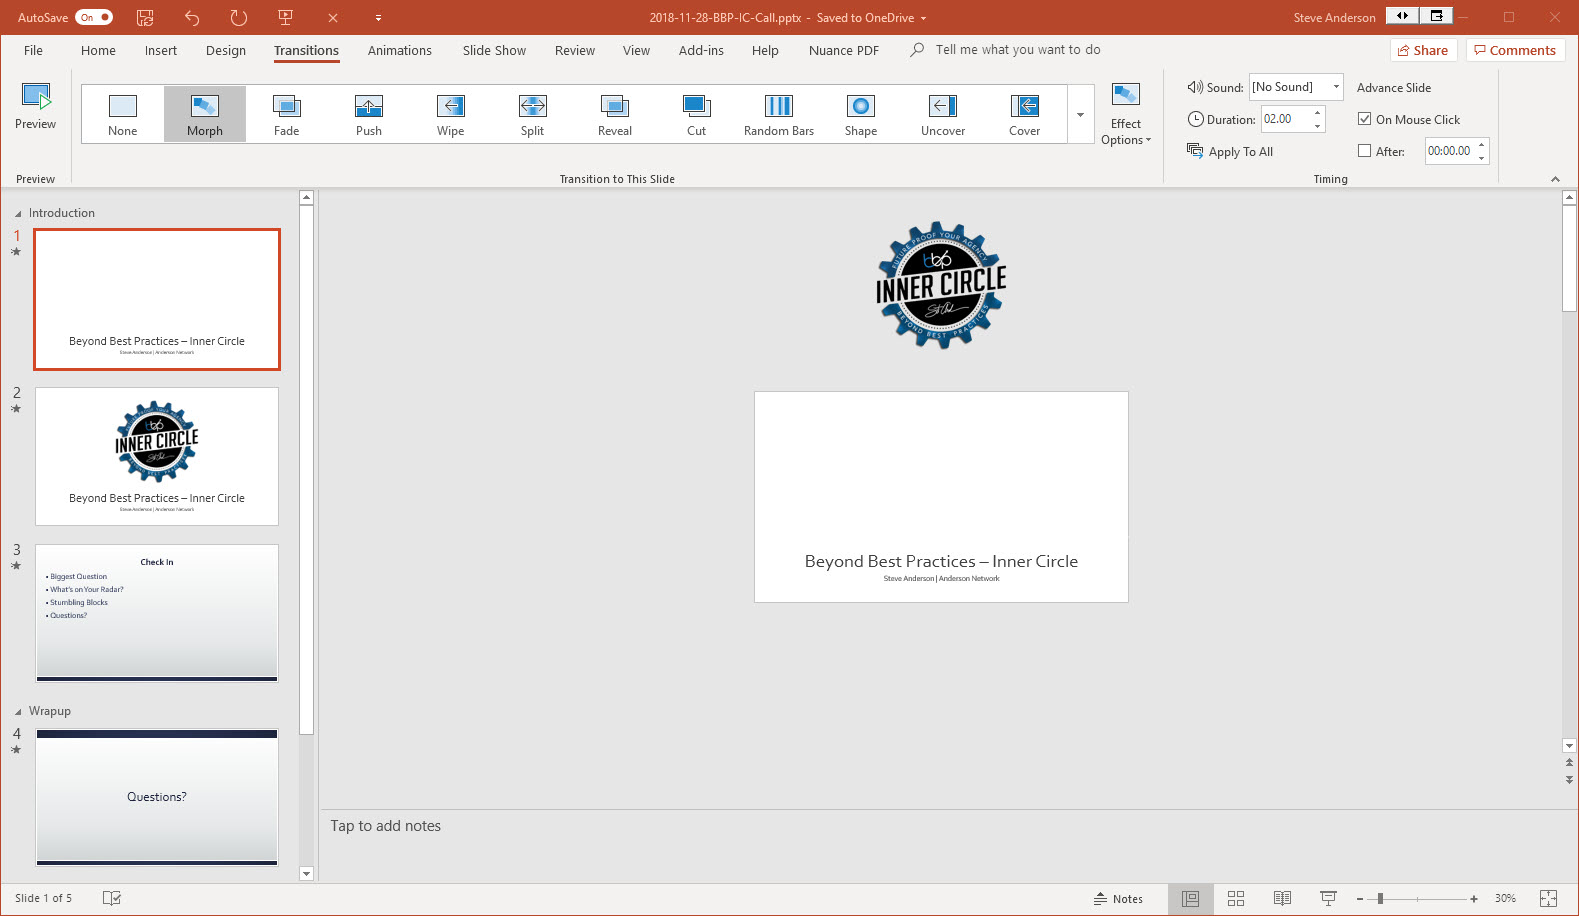
To use the Morph transition effectively, you’ll need to have two slides with at least one object in common—the easiest way is to duplicate your slide and then move the object on the second slide to a different place. You can also copy and paste the object from one slide and add it to the next. Then, apply the Morph transition to the second slide to see what Morph can do to automatically animate and move your object.
Here’s how:
In the Thumbnail pane on the left side, click the slide you want to apply a transition to, which should be the second slide you added the object, picture, or words you’d like to use the morph effect to.
- On the Transitions tab, select Morph.
- Select Transitions > Effect Options to choose just how you’d like the Morph transition to work. You can slow it down or speed it up.
- You can move objects around on the slide, change colors, move words and characters around, and much more. If you move the object off the slide, it will float onto your screen.
- Click Preview to see the Morph transition in action.
My example is a simple transition that drops in the logo onto the slide from the top. It is as easy as selecting the slide, duplicating the slide, and then moving the graphic image or text box to a different place. Morph figures the correct path automatically to move the image from one slide to the other. You can see the effect below in the short graphic I created.


I encourage you to experiment with using this transition for any PowerPoint presentations. It’s easy to use and adds a more interesting visual element to any presentation you may be making.
What other PowerPoint tips have you learned to make your presentations engaging?


